Showing posts with label bellyfiller. Show all posts

Monday, March 25, 2013

Chewiest Granola Bars


After finding this recipe on Pinterest (follow me!), I will never buy the bars in the store again. These were far too easy to make, and taste better and fresher than anything in the store. Plus, I know what's in these, and it's not glycerin, artificial flavors and preservatives. It's all stuff I happily store in my pantry. Hubby, kiddo and I all love them! I'll be making these weekly.

Chewiest Granola Bars

1/4 cup butter
3 Tbsp honey
1/3 cup packed brown sugar
2 cups quick cooking oats
1 cup crispy rice cereal
1 teaspoon vanilla
Mini chocolate chips

Melt butter, honey and brown sugar together over medium heat until it boiling. Reduce heat and cook 2 minutes. Add vanilla and stir.

While melting, stir oats and rice cereal together in a large bowl.

Add liquid to dry ingredients and mix well to moisten.

Pour into small non-stick jelly roll pan (about 12x8x1) and press out to be about 3/4 inch in thickness. If you don't have a small enough pan, mold the mixture to one side, pressing at all angles to ensure compaction.

Press in mini chocolate chips.

Cool on a countertop at room temperature for two hours or until the chocolate chips are set before cutting into bars.

Wrap in plastic wrap and store at room temperature.

Adapted from this recipe.

Tuesday, March 19, 2013

Ooey, Gooey, Rich Marshmallow Brownies

Story is, hubby never asks for sweets. He doesn't..."like"...sweets. What is that? So tonight, when he asked for brownies, and I didn't have a mix on hand, I had to find a recipe fast. This rare occasion that he wants a sweet (and thereby, I get a sweet, guilt-free, instead of eating a scoop of ice cream alone in a corner like I'm on some sugar binge), well, it couldn't go unfulfilled.

I found this recipe on my Pinterest for Marshmallow Brownies (source). It's a quick and easy recipe that turned out ooey, gooey, super rich. Delicious. And hubby? He had two. 


  • 3/4 cup unsalted butter
  • 9 oz. bittersweet chocolate
  • ½ cups sugar
  • 3 eggs
  • 1 tbsp. vanilla extract
  • 1 cup all-purpose flour
  • ½ tsp. salt
  • mini chocolate chips
  • mini marshmallows
Preheat the oven to 350˚ F. Grease a 9x9 baking pan.
Combine the butter and chocolate and melt them in a bowl in the microwave at 50% power.
Stir in the sugar, eggs and vanilla until incorporated.
Stir in the flour and salt until just combined.
Pour batter in the pan and layer marshmallows on top.
Bake for 20-25 minutes. 

Thursday, March 14, 2013

Banana Bread (aka Thank you, Facebook!)

I recently posed a question to my Facebook friends: How the heck do you get banana bread out of the pan without falling apart? I felt like I'd tried everything, but I still lost half of the bread to crumbs. What was I doing wrong?

I got lots of answers, the pan material, pan shape, recipe, lining of the pan or coating, etc. This week, I decided to try them all.

And guess what? It worked. Yes, the angels sang and the heavens shined upon me as this beautiful banana bread loaf slid out of the pan. Glory be.


To recap, I had been using:
  •  an old Food Network Magazine recipe
  • a glass pan with round corners
  • butter
  • waiting either really long, or really short to remove from the pan
 When I tried it this time, I used:
  • Alton Brown's banana bread recipe (below)
  • a metal, non-stick pan with straight sides and crisp corners
  • PAM with flour
  • wait exactly 10 minutes
It was just amazing, after so many wasted loafs and frustrating baking times, it worked! I'd made a beautiful bread, that didn't sink, that didn't crumble and that tasted fabulous. I was so pleased. I'll be using this recipe from here on out, for sure!

Banana Bread (Alton Brown for Food Network)
1 cup granulated sugar
8 tablespoons (1 stick) unsalted butter, room temperature
2 large eggs
3 ripe bananas
1 tablespoon milk
1 teaspoon ground cinnamon
2 cups all-purpose flour
1 teaspoon baking powder
1 teaspoon baking soda
1 teaspoon salt

Preheat the oven to 325 degrees F. Coat a 9 x 5 x 3 inch loaf pan with PAM and flour.

Cream the sugar and butter in a large mixing bowl until light and fluffy. Add the eggs one at a time, beating well after each addition.

In a small bowl, mash the bananas with a fork. Mix in the milk and cinnamon. In another bowl, mix together the flour, baking powder, baking soda and salt.

Add the banana mixture to the creamed mixture and stir until combined. Add dry ingredients, mixing just until flour disappears.

Pour batter into prepared pan and bake 1 hour to 1 hour 10 minutes, until a toothpick inserted in the center comes out clean. Set aside to cool on a rack for 15 minutes. Remove bread from pan, invert onto rack and cool completely before slicing.

Sunday, February 24, 2013

Cranberry Jalapeno Cream Cheese Dip

I have long lost the original source for this ah-mazing Cranberry Jalapeno Cream Cheese Dip, and there are a bunch of sites that host it or something similar. And it is fabulous. When a friend passed the now-lost link on to me, I was hesitant when I saw the jalepeno. I'm Minnesotan! I don't do spice! But she assured me that when seeded, it's not very spicy at all. And she's right, it's the perfect amount of zip, adding very little heat.

I brought this to a potluck at work and it was an absolute hit! It's very festive around the holidays, especially when the cranberries are fresh, but if you freeze your cranberries, you could bring this year-round. I bet it would be delicious at a summer picnic! Can you tell I'm thinking of warm weather?

1 12-ounce bag cranberries
1 jalapeño, stemmed, seeded and coarsely chopped
1 cup granulated sugar
2 tablespoons lime juice
1/2 teaspoon cumin
pinch salt
2 8-ounce packages cream cheese, softened


Dice cranberries and jalapenos to your preference. I like to run it in a food processor or bullet-type appliance. This gets it really thin and juicy. If you do this, you'll want to strain some of the liquid out right before you spread onto the cream cheese. If you like it a bit thicker, you can do this by hand. 
Add sugar, lime juice, cumin and salt and stir to combine. Cover and let sit either for 4 hours, or overnight. I recommend overnight, it's really lets everything soak up the sugar.
Spread softened cream cheese onto a large platter or dish and spread the cranberry mixture over. 
I served with Wheat Thins, but any yummy party cracker would be great. Shoot, cardboard would be great, this stuff is fab. 


Friday, February 8, 2013

Sweet Potato and Aduki Bean Borritos


These burritos are not only delicious, but they are filling and packed with nutrients. Sweet potatoes are source of potassium, fiber, beta carotene, calcium, protein and vitamin A. The beans are a good source of minerals such as folic acid, magnesium, zinc and iron. Good belly filler, indeed!

Ingredients:

Filling:
  • 1 can (15 oz.) aduki beans (I used no salt added variety. You could use black beans instead)
  • 2 large (orange fleshed)sweet potatoes, diced in 1 inch cubes
  • 1/4 cup vegetable stock or canned vegetable broth
  • 2 T fresh squeezed lime juice
  • 1 tsp. ground cumin
  • 1/2 tsp. ground coriander
  • 2 tbsp olive oil
  • 1 1/2 c shredded Monterrey jack cheese, queso fresco or whatever you have in the house (I had sharp cheddar so that is what I used today)
Tortillas (Based on Deborah Madison's recipe)
  • 2 c flour (can use white or whole wheat)
  • 2 tbsp canola oil
  • ¾ milk (water can be used also)
  • 1 tsp baking powder
  • ¼ tsp salt or other seasoning like garlic powder or cumin or both
  • I sometimes through in a tbsp or two of flaxseed meal

tortillaTo make the tortillas: Whisk together the dry ingredients in a bowl. Drizzle the oil throughout the dry ingredients and work it into the mixture with a fork or your fingers. Pour in the milk and combined until you have a shaggy dough. Turn this out onto a floured surface and kneed until combined. Be careful not to over-knead.  Place a damp towel over the dough and let rest for 20 minutes. Heat a cast iron pan on th stove on med-high. Cut the dough into eighths. Roll out an eighth onto a floured surface. Place the tortilla in the hot pan. When air pockets start to appear (40 seconds or so), flip your tortilla.


lime

To make the filling: Heat olive oil in a dutch oven or large pot on medium. Add sweet potatoes. Cook for a half hour or until they start to get pretty soft. Add vegetable stock and deglaze. Add the beans and spices. Simmer for 15-20 minutes. Add lime. Simmer for another couple minutes. Spoon the filling onto a tortilla. Top with cheese and enjoy!

Monday, December 17, 2012

Marshmallow bark

1 bag high quality bittersweet choc, milk choc, white choc, etc
1 bag of marshmallows
2 Tbsp butter
Any fun extras like mini M&Ms, sprinkles, nuts, caramel drizzle, sea salt, etc

Melt chocolate and butter. This can be done either in a double broiler or microwave at 50% power (defrost). I prefer the microwave version, just be sure to use in a microwave safe bowl, as the chocolate gets pretty hot. Be sure to stir often. These pictures were taken every minute or so. 


Special note: be sure not a drop of water gets in your mixture. I learned this lesson the hard way when I was making chocolate peacocks for Hannah's wedding in 2010. Water and the heated chocolate reacts somehow and clumplifies (technical term) the chocolate. It looks and tastes awful. So your bowl, and mixing utensils, everything should be DRY. In my case, the handle of the spoon I was using had water in it, and dropped into the mixture and messed it all up. That chocolate went to the garbage, rather than into the peacock mold...

Add marshmallows and mix gently to coat


Here's where you can go classy or not. The original directions call to spread in a 9x9 pan and refrigerate. When it hardens, you cut into cute little squares and they look fab. Or you can do this: 


I was inspired to skip the cutting step and make little marshmallow bark cookies of sort. But let's not split hairs: they look like deer poop. I swear they taste fabulous, despite their scat-like appearance. 

BUT! I got creative and thought sprinkles would make them festive and less waste-ful (get it?). 

Eh. Not so much. Looks like Rudolph poop. This might be fun for kids or something. Next time, I'll stick to the pan! 


Thursday, November 29, 2012

Whipped Cream

Whipped Cream

Whenever I need whipped cream, I make it myself. I figure, I'm already having something decadent, I may as well go full-throttle. Homemade whipped cream is extremely simple and well worth your time and prepared brands don't even compare.

Ingredients:
  • Heavy whipping cream
  • confectioners sugar to taste
  • vanilla to taste

An entire pint of whipping cream makes a whole heaping lot of whipped cream. If you plan to use the whipped cream for something like a 13 x 9 cake, I'd say you need about 2/3 the carton.

Take your bowl and beater and place it in your freezer for 15 minutes. I believe this is helps the cream whip better.

Beat whipping cream on med-high for about 5 minutes or until stiff peaks form. Use a spatula to add vanilla and sugar. You can make this as sweet as you like. For this amount, I add about two heaping tablespoons of confectioners sugar and a couple teaspoons of vanilla.

If find this is best to use the whipped cream within the next 24 hours. I wouldn't make this far ahead of when I plan to use it.


Tuesday, November 20, 2012

Roasted Chickpeas

Roasted Chickpeas

I love these as a salad topper and also as a snack on their own. They’re super easy and you can vary the seasoning to your liking.

Ingredients:
  • 1 15 oz can of chickpeas/garbanzo beans 
  • 1 tsbp olive oil 
  • garlic powder (about 1 tsp)
  • Mrs. Dash all purpose seasoning (about 1 tsp)

Preheat your oven to 400. Rinse the chickpeas. Throw them in a small baking pan. I drizzle about a tablespoon or two of olive oil over them, sprinkle some seasoning on top and use my hands or a spoon to mix everything together. I actually don’t measure the seasoning. I just eyeball it. The beans should be well coated with seasoning. Roast these for about 35 minutes and enjoy!


Tuesday, November 13, 2012

Roasted Root Vegetables


One of my absolute favorite things to enjoy during the cold Minnesota fall and winter are roasted root vegetables.  Roasting brings out an incredible sweetness and the warmth is comforting when you are chilled to the core.

I find that most root vegetables marry well together. I adjust my varieties but there are some vegetables I use consistently which are onion, garlic, and fennel. If you aren't familiar with fennel give it a try.  It is very aromatic and tastes similar to anise, which is used to flavor black licorice, but don't let that scare you! I hate black licorice (which is saying something because I am the Candy Queen), but I adore fennel.

Ingredients:
  • 1/2 large red onion, chopped
  • 1 orange fleshed sweet potato, cubed
  • 1/2 to 1 fennel bulb (1/2 if it's a really big one)
  • 3-5 garlic cloves
  • 2 turnips, cubed
  • 2-3 parsnips, sliced into coins
  • about 2 tsp dried rosemary leaves
  • about 1 tsp ground thyme
  • 2 tsbp olive oil


Add more or less of whatever you want. If you aren't enamored with onion, use less. To be quite frank, I don't measure any of this. I eyeball it to my liking. The size of my cubes are pretty small, less than 1 inch.

Preheat oven to 450 degrees.

Try your best to cut the sweet potato, turnips and parsnips into similar sizes.  Put these in a bowl and drizzle most of the olive oil on top. Toss to combine. Spread on a baking sheet (I line mine with a silpat liner) and sprinkle on the rosemary and thyme. Put this in the oven and set a timer for 15 minutes.

In the meantime, roughly chop the garlic, fennel and onion. Toss in remaining olive oil. After the timer goes off, combined this with the vegetables in the oven. Distribute them well. Roast for another 15-20 minutes. Remove from the oven and serve!

These are great alongside quinoa with pesto.

Monday, November 5, 2012

Spinach Lasagna Roll Ups


While I may not be culinarily-creative enough to make my own recipes, I do like to adapt where I can. Especially for freezer options and health reasons. Pinterest has no end to the fabulous recipes just begging to be reworked to my taste. 

For example, this Lasagna Roll Up recipe from Cooking Classy just looks divine, but I've never been a fan of chicken with red sauce. Plus, I like to substitute for meatless when I can, since I can sneak in my greens. So I played with this recipe a little, subbing frozen spinach for chicken, and stretching to make two more meals out of it. Check it out!

Lasagna Roll Ups

Ingredients:
  • 1 Tbsp extra virgin olive oil
  • ¼ cup finely chopped onions (optional)
  • 1 can crushed tomatoes (I like Fire-Roasted)
  • 1 jar of spaghetti sauce (I like Prego HeartSmart)
  • 2 Tbsp minced garlic
  • 1 box frozen spinach, squeezed of excess liquid
  • 1 tsp dried oregano
  • Salt and freshly ground black pepper, to taste

  • 1 (15 oz) container Ricotta Cheese
  • 1 large egg
  • 2 1/4 cups grated Mozzarella Cheese, divided
  • 3/4 cup finely grated Parmesan Cheese, divided
  • 1/3 cup freshly, finely grated Romano Cheese
  • 1/4 tsp salt
  • 1/4 tsp freshly ground black pepper
  • 12 uncooked lasagna noodles

Directions:

Preheat oven to 375 degrees.

Start that water boiling! And cook noodles according to directions. I like to cook those things while I do everything else so I'm not waiting for them. They can wait for me, darnit!

Heat 1 Tbsp olive oil in a non-stick frying pan and sauté onions. I'll be honest: I didn't have an onion, and they're really not my favorite. So I skipped this part. It's ok!


If you sauteed onions, transfer them to a medium-large saucepan. Add crushed tomatoes, minced garlic,  oregano and jar of spaghetti sauce.  Season sauce with salt and pepper and cover with a lid to simmer over low heat.


When lasagna noodles are cooked, drain and immediately line in a single layer on waxed paper or cookie sheets.

In a large bowl, combine Ricotta cheese, egg, 1/4 tsp salt and 1/4 tsp pepper.  Add in 1 3/4 cups grated Mozzarella Cheese, 1/2 cup Parmesan Cheese and 1/3 cup Romano Cheese, stir mixture until well combined. Add spinach to cheese mixture until combined.

Confession: I had no romano cheese. So I threw in extra mozzarella. I love mozzarella.

Stir sauce and spread in the bottom of your pan. You have options here. If you're making the whole batch, or almost whole, use a 13x9 inch baking dish. I opted for a 9x9 inch baking dish, and two 9 inch round aluminum foil pans for the freezer. It's just the two of us and a baby, and even with leftovers, we wouldn't eat a whole batch. But by freezing the other two pans, that's two more nights coming up that I don't have to cook, but still get a tasty, hearty meal. Heckuva deal.


Spread two heaping spoonfuls of cheese mixture onto each cooked lasagna noodle, then spoon sauce over.  Roll noodles up and arrange seam side down in your dish.  Cover rolled noodles with remaining meat sauce and sprinkle with mozzarella cheese and a little more oregano.  For the dish you're baking, tent with foil (don't allow foil to rest on cheese or it will stick you just want to loosely tent to prevent the cheese from browning) and bake for 35 minutes, removing foil for last 5 minutes.

For freezing, cover and freeze flat with nothing resting on top. Once frozen, they can be stacked. On eating day, move the dish to your fridge for 12-24 hours, just to soften. Remove lid and tent with new foil, bake at 375 for an hour or until hot.


Adapted from: Cooking Classy

Sunday, November 4, 2012

Stove Top Macaroni and Cheese


I love macaroni and cheese. I haven't bought boxed macaroni and cheese in years because this is simply superior. It takes a little more time, but not much effort.

Ingredients:
  • 1 tbsp unsalted butter
  • 1 tbsp flour
  • 1 1/2 - 2 c cheese (I normally use sharp cheddar)
  • 1 c milk (I use 2% but skim works also)
  • 3/4 lb pasta (I actually use campanelle but you can use penne, macaroni, etc...)


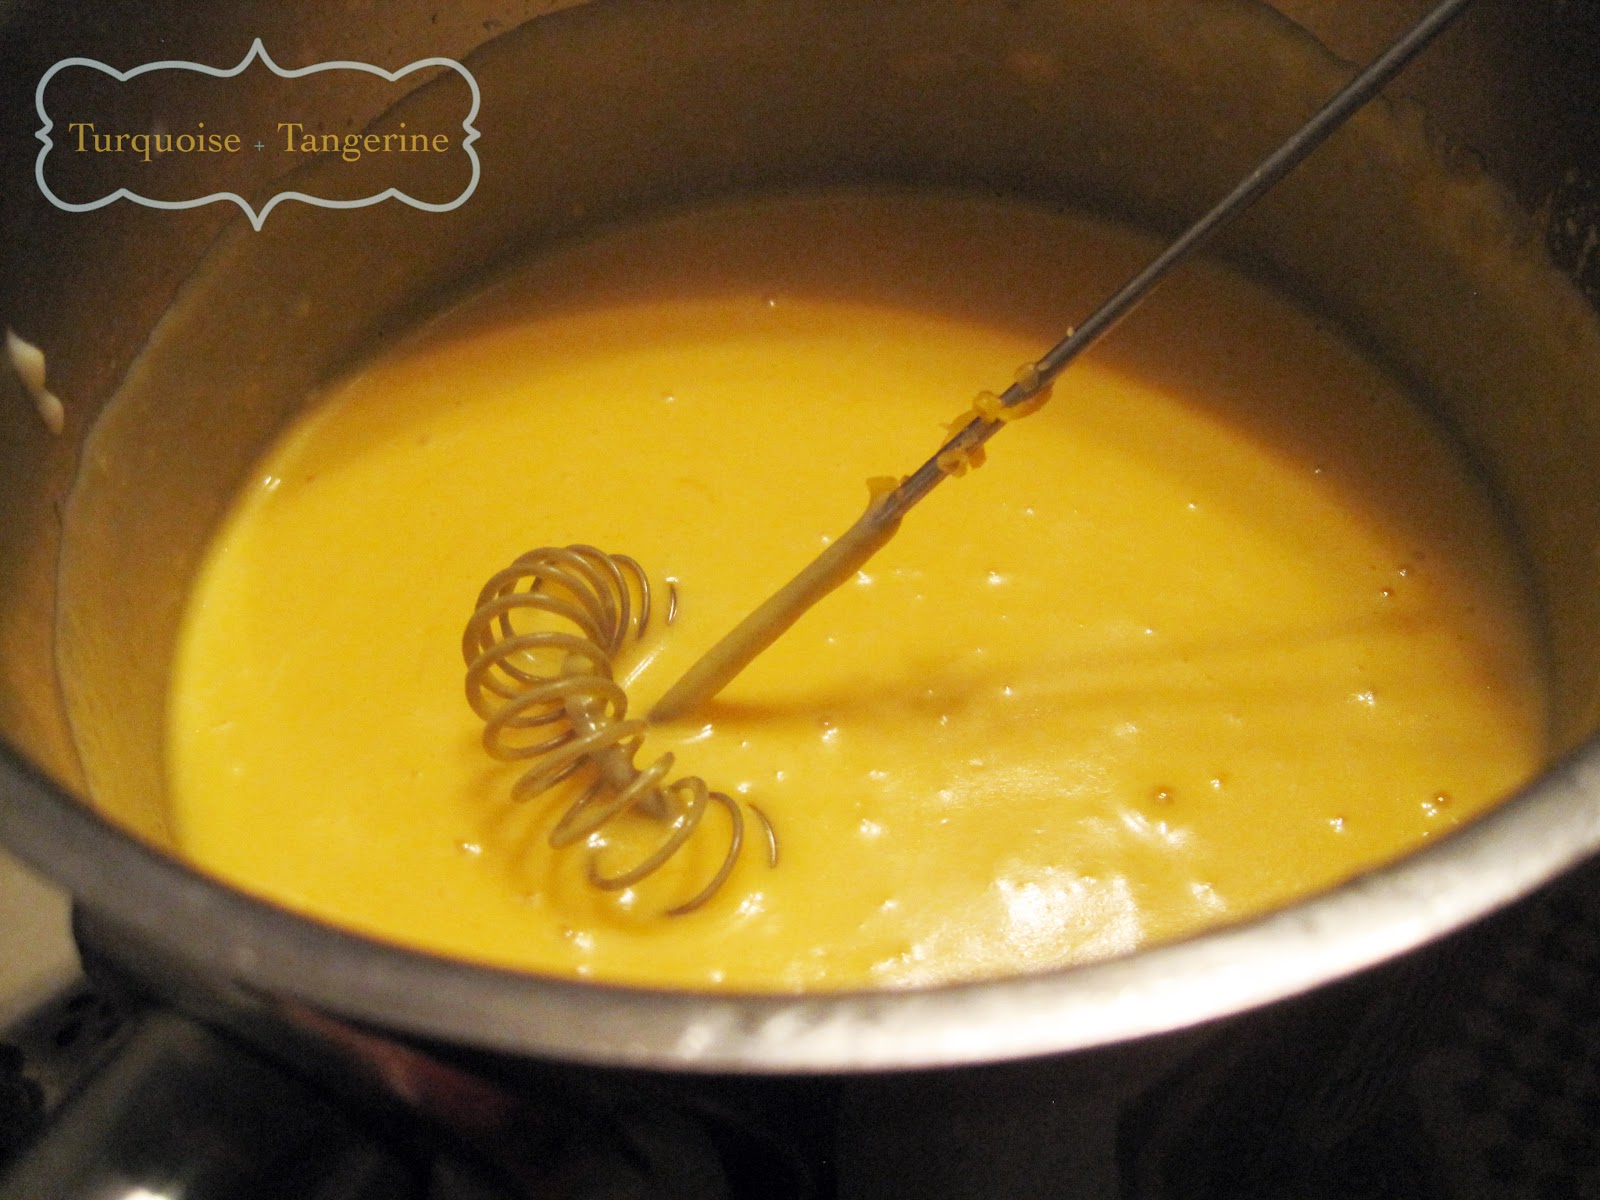
We'll start by making a roux. Melt butter in a medium sized pan on the stove. Once melted, whisk in flour. Allow the mixture to simmer for about a minute and continue whisking to ensure it does not start to burn. This is important because it eliminates the raw flour taste. Slowly start whisking in your milk. Simmer for a minute or so, then gradually start mixing in the cheese. You should end up with a rich, heavenly cheese sauce.


When the pasta is ready, drain and then combine your cheese and pasta (I normally just dump the pasta back into the pan and immediately pour the cheese on top. Mixing with a spatula tends to work the best for me.).


The nice thing about this recipe is that it is simple and you can jazz it up any way you like. I've added chipotle seasoning to the cheese sauce. I've also used different kinds of cheese like Gouda and have also added cream cheese. If you want this to be a heartier dish, add cooked cauliflower, corn or mushrooms -- I personally love it with mushrooms. Yum!