Thursday, November 29, 2012

Whipped Cream

Whipped Cream

Whenever I need whipped cream, I make it myself. I figure, I'm already having something decadent, I may as well go full-throttle. Homemade whipped cream is extremely simple and well worth your time and prepared brands don't even compare.

Ingredients:
  • Heavy whipping cream
  • confectioners sugar to taste
  • vanilla to taste

An entire pint of whipping cream makes a whole heaping lot of whipped cream. If you plan to use the whipped cream for something like a 13 x 9 cake, I'd say you need about 2/3 the carton.

Take your bowl and beater and place it in your freezer for 15 minutes. I believe this is helps the cream whip better.

Beat whipping cream on med-high for about 5 minutes or until stiff peaks form. Use a spatula to add vanilla and sugar. You can make this as sweet as you like. For this amount, I add about two heaping tablespoons of confectioners sugar and a couple teaspoons of vanilla.

If find this is best to use the whipped cream within the next 24 hours. I wouldn't make this far ahead of when I plan to use it.


We bought a house!

After many months of waiting, we finally have a house!

Husband and I put in an offer back in June, but it was a short sale (IMO, a horrible name for this type of transaction because as we learned, they are so rarely "short"). In October we got word that we are final, and would close in November. Finally on November 15, we were handed our keys!


In just 14 long days, we've made significant progress on the house, special thanks to our fabulous family, including my dear partner in crime here, Hannah. I'm preparing that picture post now, look for it coming next week! For now, check out the long list of "what we've done in 14 days."

Tore out 1400 sq ft of nasty carpet
Destroyed a dilapidated basement kitchen
Removed a ton of ugly wallpaper
Filled 30 yds of dumpster with said carpet, kitchen, fencing, edging, wallpaper and other refuse left in the home
Gave away two yard swings (thanks, Craigslist!) 
Raked and hauled two years's worth of leaves in the front and back yard
Removed a rotten treehouse
Cut down and evaluated overgrown shrubberies
Mowed the lawn one last time before winter
Repaired walls damaged by wallpaper and bad workmanship
Primed two bedrooms, a bathroom, a kitchen, living room, long hallway and tall entry
Painted two bedrooms, a bathroom, a kitchen, living room, long hallway and tall entry
Primed and painted all of the trim upstairs
Primed and painted 5 closets 
Bought new appliances
Selling old appliances (thanks, Craigslist!)
Cleaned windows, bathroom, kitchen and hardwood flooring
(I'm sure I missed a ton of other things, so for now, I write "LOTS OF OTHER STUFF")

And finally, packed and moved our entire two bedroom apartment to the basement for now, since we moved before the carpet came. Carpet was installed on Tuesday, and we've been slowly organizing and reorganizing to make it home. Hoping to be sleeping there tonight! Hooray!

Special special special thanks to our family to make this happen. There was no way we could have done this without their dedication. We owe all of them pizza, and help when they move, paint and have yard work. LOVE!

(By the way, we've been working our day jobs this entire time, too. SO most of this happened on weekends and evenings...)
 
Promises for more pics to come!

-Katie

Tuesday, November 20, 2012

Roasted Chickpeas

Roasted Chickpeas

I love these as a salad topper and also as a snack on their own. They’re super easy and you can vary the seasoning to your liking.

Ingredients:
  • 1 15 oz can of chickpeas/garbanzo beans 
  • 1 tsbp olive oil 
  • garlic powder (about 1 tsp)
  • Mrs. Dash all purpose seasoning (about 1 tsp)

Preheat your oven to 400. Rinse the chickpeas. Throw them in a small baking pan. I drizzle about a tablespoon or two of olive oil over them, sprinkle some seasoning on top and use my hands or a spoon to mix everything together. I actually don’t measure the seasoning. I just eyeball it. The beans should be well coated with seasoning. Roast these for about 35 minutes and enjoy!


Tuesday, November 13, 2012

Roasted Root Vegetables


One of my absolute favorite things to enjoy during the cold Minnesota fall and winter are roasted root vegetables.  Roasting brings out an incredible sweetness and the warmth is comforting when you are chilled to the core.

I find that most root vegetables marry well together. I adjust my varieties but there are some vegetables I use consistently which are onion, garlic, and fennel. If you aren't familiar with fennel give it a try.  It is very aromatic and tastes similar to anise, which is used to flavor black licorice, but don't let that scare you! I hate black licorice (which is saying something because I am the Candy Queen), but I adore fennel.

Ingredients:
  • 1/2 large red onion, chopped
  • 1 orange fleshed sweet potato, cubed
  • 1/2 to 1 fennel bulb (1/2 if it's a really big one)
  • 3-5 garlic cloves
  • 2 turnips, cubed
  • 2-3 parsnips, sliced into coins
  • about 2 tsp dried rosemary leaves
  • about 1 tsp ground thyme
  • 2 tsbp olive oil


Add more or less of whatever you want. If you aren't enamored with onion, use less. To be quite frank, I don't measure any of this. I eyeball it to my liking. The size of my cubes are pretty small, less than 1 inch.

Preheat oven to 450 degrees.

Try your best to cut the sweet potato, turnips and parsnips into similar sizes.  Put these in a bowl and drizzle most of the olive oil on top. Toss to combine. Spread on a baking sheet (I line mine with a silpat liner) and sprinkle on the rosemary and thyme. Put this in the oven and set a timer for 15 minutes.

In the meantime, roughly chop the garlic, fennel and onion. Toss in remaining olive oil. After the timer goes off, combined this with the vegetables in the oven. Distribute them well. Roast for another 15-20 minutes. Remove from the oven and serve!

These are great alongside quinoa with pesto.

Monday, November 5, 2012

Spinach Lasagna Roll Ups


While I may not be culinarily-creative enough to make my own recipes, I do like to adapt where I can. Especially for freezer options and health reasons. Pinterest has no end to the fabulous recipes just begging to be reworked to my taste. 

For example, this Lasagna Roll Up recipe from Cooking Classy just looks divine, but I've never been a fan of chicken with red sauce. Plus, I like to substitute for meatless when I can, since I can sneak in my greens. So I played with this recipe a little, subbing frozen spinach for chicken, and stretching to make two more meals out of it. Check it out!

Lasagna Roll Ups

Ingredients:
  • 1 Tbsp extra virgin olive oil
  • ¼ cup finely chopped onions (optional)
  • 1 can crushed tomatoes (I like Fire-Roasted)
  • 1 jar of spaghetti sauce (I like Prego HeartSmart)
  • 2 Tbsp minced garlic
  • 1 box frozen spinach, squeezed of excess liquid
  • 1 tsp dried oregano
  • Salt and freshly ground black pepper, to taste

  • 1 (15 oz) container Ricotta Cheese
  • 1 large egg
  • 2 1/4 cups grated Mozzarella Cheese, divided
  • 3/4 cup finely grated Parmesan Cheese, divided
  • 1/3 cup freshly, finely grated Romano Cheese
  • 1/4 tsp salt
  • 1/4 tsp freshly ground black pepper
  • 12 uncooked lasagna noodles

Directions:

Preheat oven to 375 degrees.

Start that water boiling! And cook noodles according to directions. I like to cook those things while I do everything else so I'm not waiting for them. They can wait for me, darnit!

Heat 1 Tbsp olive oil in a non-stick frying pan and sauté onions. I'll be honest: I didn't have an onion, and they're really not my favorite. So I skipped this part. It's ok!


If you sauteed onions, transfer them to a medium-large saucepan. Add crushed tomatoes, minced garlic,  oregano and jar of spaghetti sauce.  Season sauce with salt and pepper and cover with a lid to simmer over low heat.


When lasagna noodles are cooked, drain and immediately line in a single layer on waxed paper or cookie sheets.

In a large bowl, combine Ricotta cheese, egg, 1/4 tsp salt and 1/4 tsp pepper.  Add in 1 3/4 cups grated Mozzarella Cheese, 1/2 cup Parmesan Cheese and 1/3 cup Romano Cheese, stir mixture until well combined. Add spinach to cheese mixture until combined.

Confession: I had no romano cheese. So I threw in extra mozzarella. I love mozzarella.

Stir sauce and spread in the bottom of your pan. You have options here. If you're making the whole batch, or almost whole, use a 13x9 inch baking dish. I opted for a 9x9 inch baking dish, and two 9 inch round aluminum foil pans for the freezer. It's just the two of us and a baby, and even with leftovers, we wouldn't eat a whole batch. But by freezing the other two pans, that's two more nights coming up that I don't have to cook, but still get a tasty, hearty meal. Heckuva deal.


Spread two heaping spoonfuls of cheese mixture onto each cooked lasagna noodle, then spoon sauce over.  Roll noodles up and arrange seam side down in your dish.  Cover rolled noodles with remaining meat sauce and sprinkle with mozzarella cheese and a little more oregano.  For the dish you're baking, tent with foil (don't allow foil to rest on cheese or it will stick you just want to loosely tent to prevent the cheese from browning) and bake for 35 minutes, removing foil for last 5 minutes.

For freezing, cover and freeze flat with nothing resting on top. Once frozen, they can be stacked. On eating day, move the dish to your fridge for 12-24 hours, just to soften. Remove lid and tent with new foil, bake at 375 for an hour or until hot.


Adapted from: Cooking Classy

Sunday, November 4, 2012

Stove Top Macaroni and Cheese


I love macaroni and cheese. I haven't bought boxed macaroni and cheese in years because this is simply superior. It takes a little more time, but not much effort.

Ingredients:
  • 1 tbsp unsalted butter
  • 1 tbsp flour
  • 1 1/2 - 2 c cheese (I normally use sharp cheddar)
  • 1 c milk (I use 2% but skim works also)
  • 3/4 lb pasta (I actually use campanelle but you can use penne, macaroni, etc...)


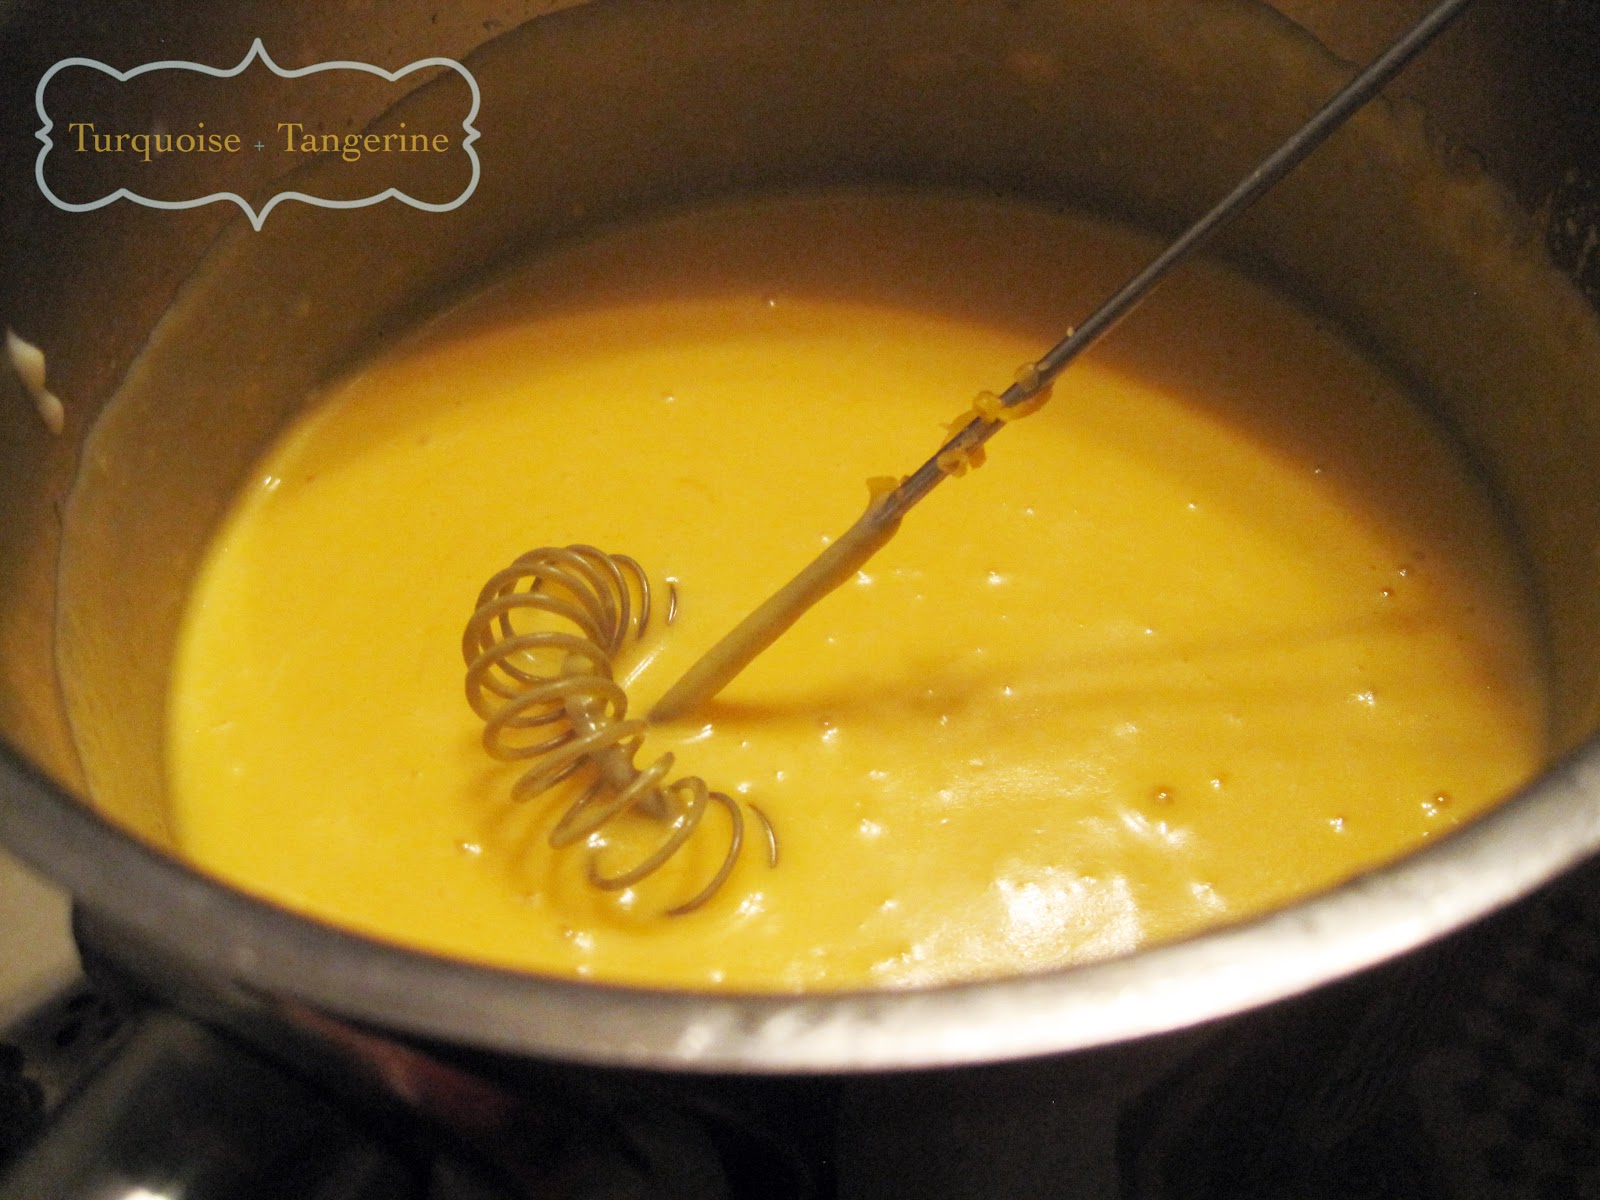
We'll start by making a roux. Melt butter in a medium sized pan on the stove. Once melted, whisk in flour. Allow the mixture to simmer for about a minute and continue whisking to ensure it does not start to burn. This is important because it eliminates the raw flour taste. Slowly start whisking in your milk. Simmer for a minute or so, then gradually start mixing in the cheese. You should end up with a rich, heavenly cheese sauce.


When the pasta is ready, drain and then combine your cheese and pasta (I normally just dump the pasta back into the pan and immediately pour the cheese on top. Mixing with a spatula tends to work the best for me.).


The nice thing about this recipe is that it is simple and you can jazz it up any way you like. I've added chipotle seasoning to the cheese sauce. I've also used different kinds of cheese like Gouda and have also added cream cheese. If you want this to be a heartier dish, add cooked cauliflower, corn or mushrooms -- I personally love it with mushrooms. Yum!


Thursday, November 1, 2012

Organizing home improvement chaos

Secretly, outside of my messy baking and scattered crafts, I’m a charts girl. I like things neat, tidy, laid out on a beautiful, color coded excel doc that you could frame it’s so gorg.

It was only natural that my head quickly started spinning when we started to believe that this house could actually be ours, and then was. All the talk of caulking and primer and tile and toilets along with the many, many dollar signs agonized my brain.

I needed to chartize.

I hopped on excel and set up a pretty simple chart. One tab for every room, including each bedroom, living room, entryway, etc.

Columns include the order in which each task is to be done (i.e. Remove wallpaper is number 4, and prime is 5, paint is 6, etc), cost, date the task was updated, and additional notes. And when my husband and I sit to go over our plans, we can be on the same page, literally.

Now, of course other things will come up, and it’s not an end-all, be-all perfect solution, but it works for us to keep us on the same page, and keep our priorities in check.

I've made the doc public here if it may help anyone else. Enjoy!

Keep an eye here too, as we close on November 15 and start (de)construction that night!